This article is part of the systems administration guide. You will require administration access to view the pages mentioned in this article.
Patient Claim Interactive (PCI) is sent via CareRight (Eclipse Channel) for MBS items. PCI is for Outpatient services and MBS items being claimed are eligible for reimbursements.
The checklist below walks you through the setup of PCI in the CareRight Billing and Claiming Module.
Special Note | Steps | Full Article | Specific & Mandatory Fields |
1st Time Set up only Note: Claims will be unsuccessful if Medicare Registration is not completed correctly. | 1. Register for Medicare Online - To activate Eclipse Claim in CareRight. Note: You need to be registered with Medicare before Claiming within CareRight can begin. Please contact Medicare if you have any questions. | Medicare Registration Information Pack | Please contact Medicare Australia for full details on 1800 700 199. |
| 2. Contact Clintel for Medicare Online Module installation. | Please contact your designated Clintel Project Manager or raise a Redmine Ticket. | ||
System Administration Configuration in CareRight | |||
1st Time Set up only | 3. Location Set up in CareRight |  | |
| 4. Service Location Set up in CareRight |  | ||
| 5. Create Medical Provider Or 5a. Edit a Medical Provider (if only changes to information apply) | Add a New Medical Provider Edit a Medical Provider | 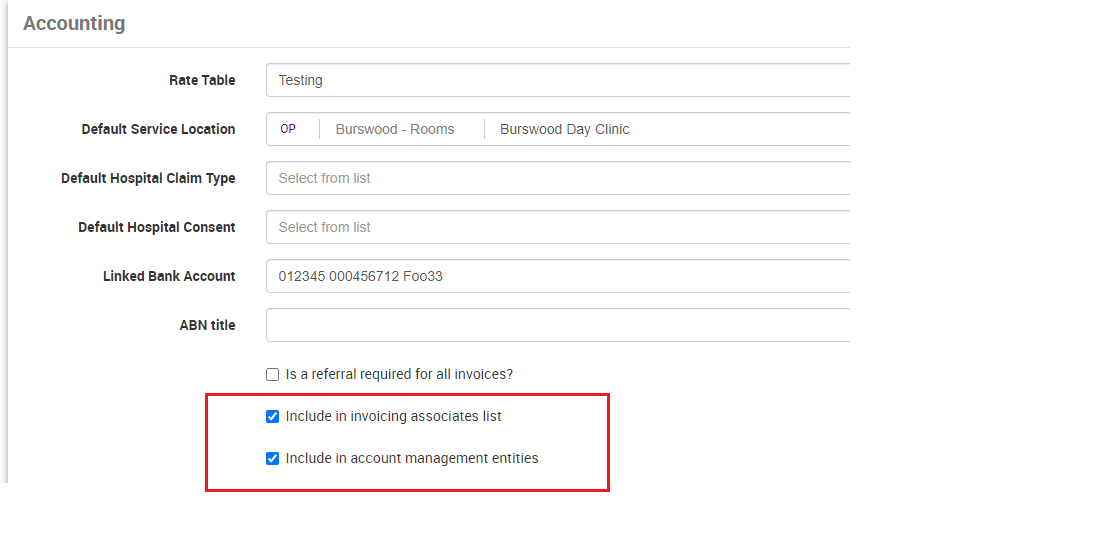 | |
| 6. Review the Rate Definitions | Rate Definition Overview | ||
| 7. Upload the most recent Medicare Benefits Schedule. | Updating MBS Rates | ||
| 8. You can add new MBS items to your current item list. To review, your current and existing MBS list, click here for instructions. If the item is not listed, continue with Adding a new Item Code. | Add a New Item Code | ||
| 9. Review the Guarantor Set up for Medicare and DVA. |  | ||
Follow CareRight User Guide on how to raise a PCI | |||
| 10. Create and prepare a PCI claim | |||
